Unofficial interactive tutor · full cast table lab
Arkham Horror LCG Setup Trainer
Learn the table before the mythos starts charging rent. This is a playable tutor for your physical Arkham Horror LCG box: ten original training scenarios, map setup, clues, locked paths, enemies, doom pressure, chaos pulls, action economy, and the whole Puzzlewick cast explaining the job in their own voices.
Playable training board 10 tutor scenarios 6 curator coaches Physical game required Original teaching cards
Adaptive playing tutor
Learn one decision at a time. The board reveals the rest when you need it.
Pick a lesson, build the original practice table, and play real turns. The active curator reads the board state, recommends a legal move, explains why, and remembers the scenarios you clear on this device.
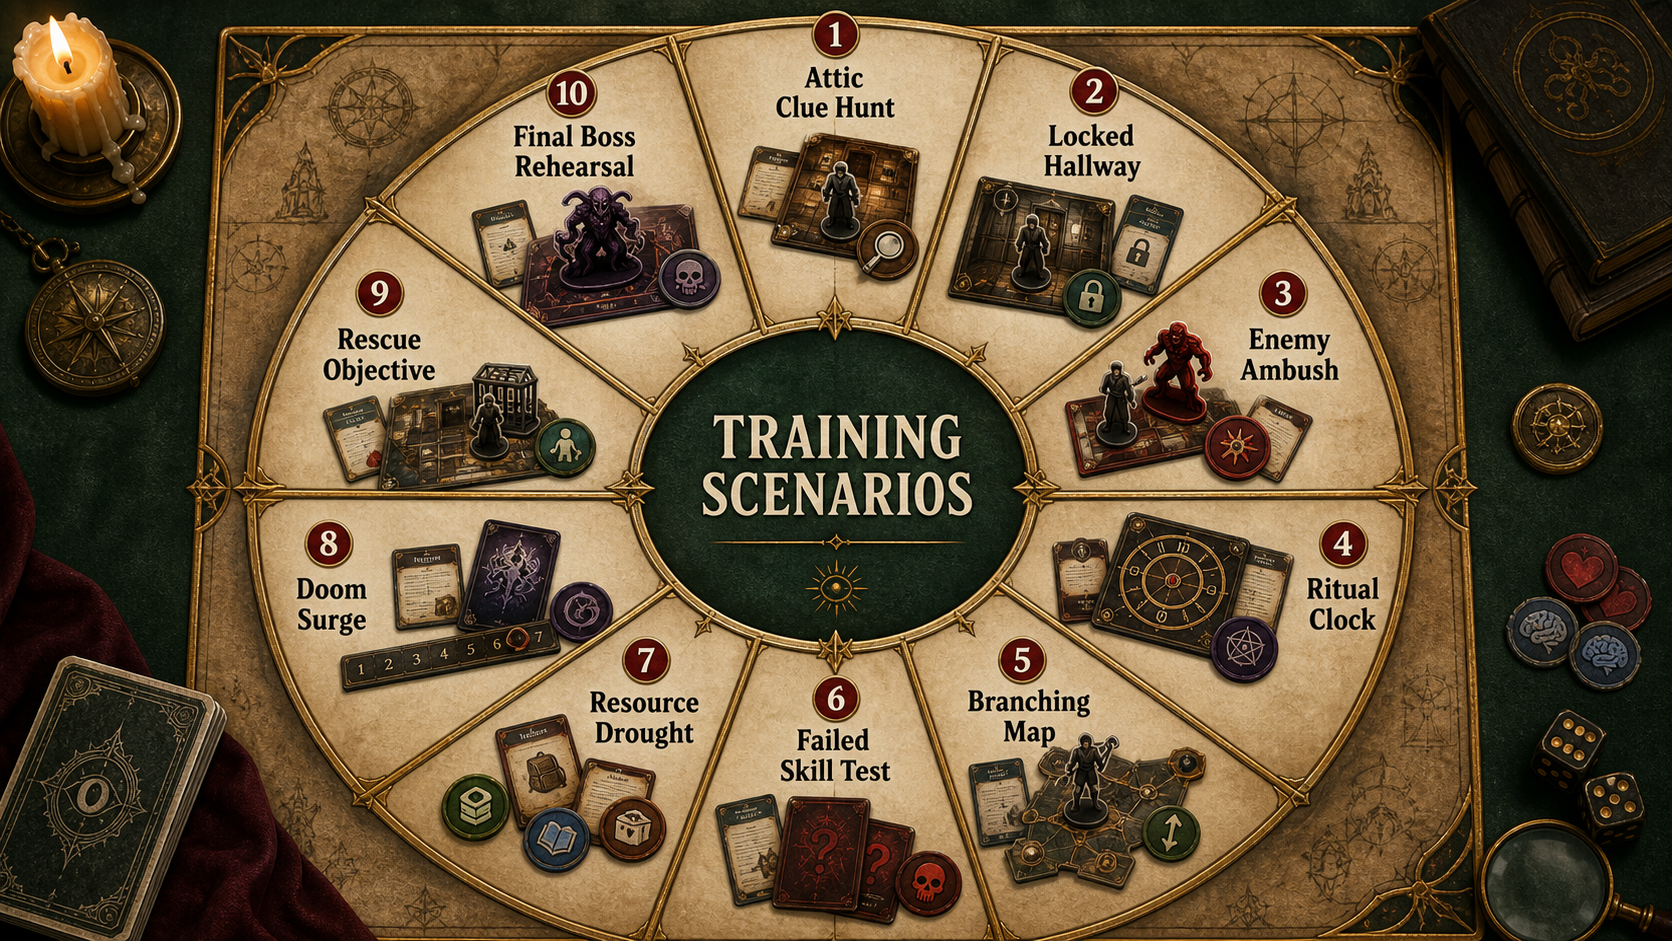
Browse all ten lessonsclues · routes · enemies · doom · odds · economy · rescue
1 Set up 2 Play the round 3 Review why
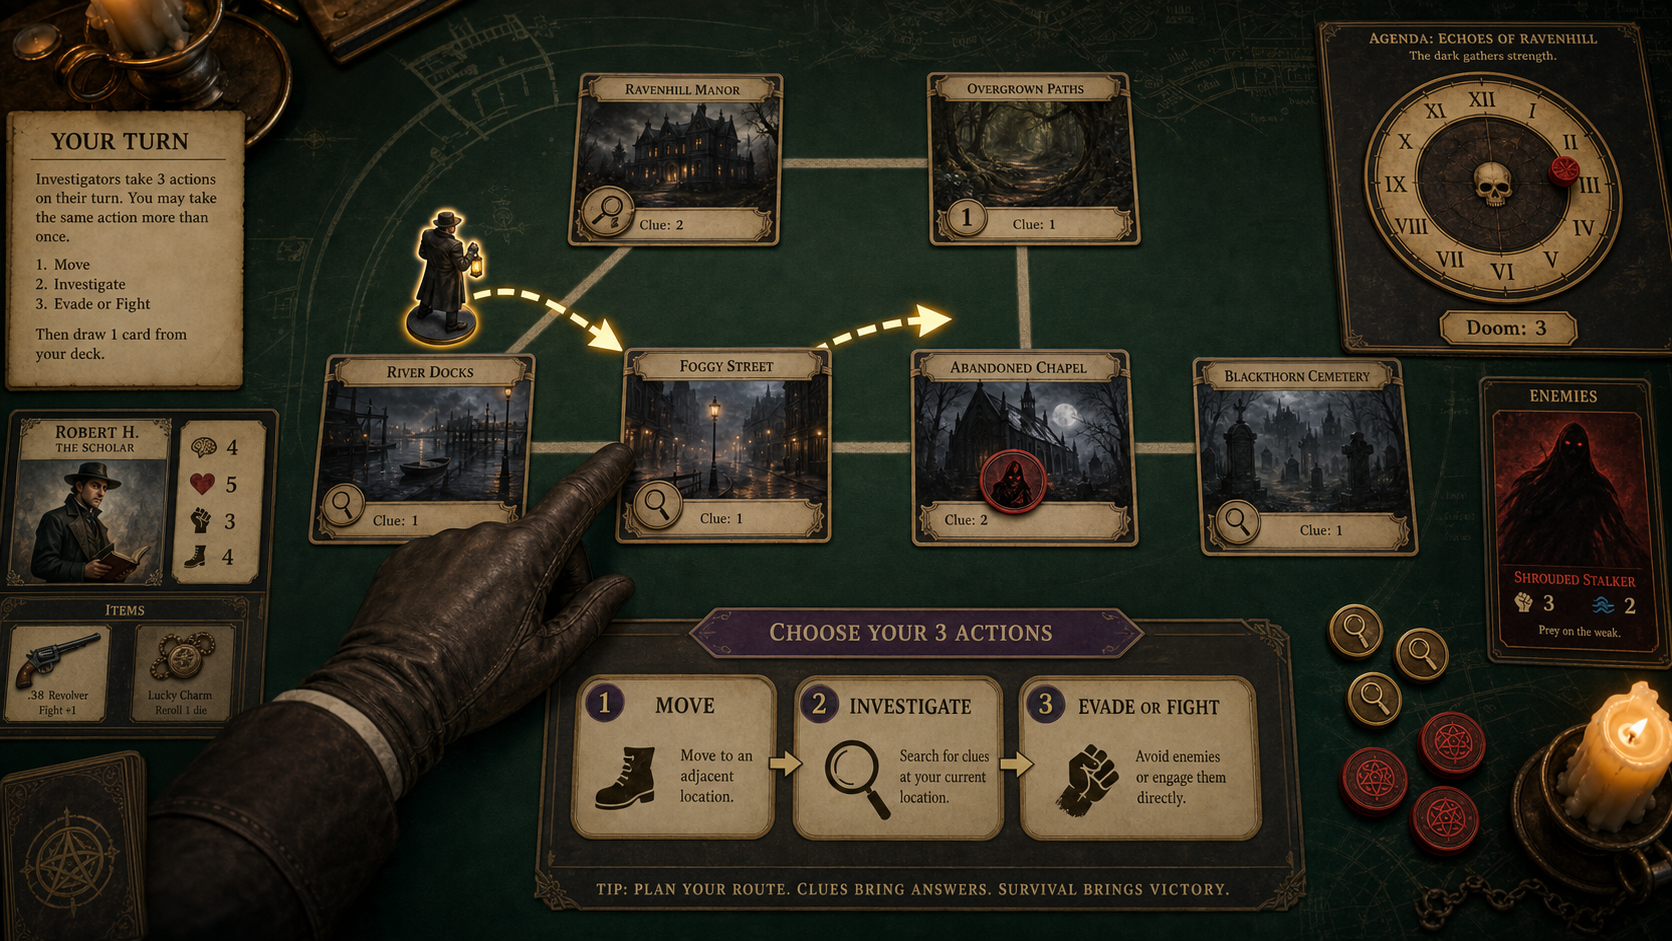
1Round 3Actions 0/5Doom 0/3Progress 5Resources
- Book
- 4
- Fist
- 2
- Foot
- 3
- Will
- 4
Clues held 0 Health 5 Sanity 7 Commit +0
At Foyer
Investigate, fight, or evade to pull a practice token.
What this is: an original practice board that teaches Arkham's decision rhythm. What it is not: a replacement for your physical cards, official setup instructions, or campaign text.
Keeper's reference vault Open the full setup guide, odds lab, mulligan coach, table glossary, and host tools Optional depth for when the first scenario has clicked.
Full cast manual lab
Six curators, six pressure points, one table that finally makes sense.
The official Learn to Play teaches the setup sequence and the round structure. This lab translates those steps into human jobs: who steadies the first player, who reads the map, who prices the test, who handles enemies, and who audits doom before the table forgets.

Learn to Play anchor: investigator setup, opening resources, opening hand, mulligan
Yumi: The gentle first-table ritual
Yumi handles the emotional doorway: clean investigator bays, starting resources, opening hands, the mulligan, and the moment a nervous player realizes the game is asking for one useful action at a time.
"Come in, put the clue tokens where your hands can find them, and let the first round feel like a table instead of an exam."
- Give every investigator a personal bay before anyone reads flavor text.
- Teach the mulligan as comfort, not failure: keep cards that help this role in the first two rounds.
- Make the first action physically obvious. Point to the clue, route, enemy, or asset before spending it.

Learn to Play anchor: scenario setup, act/agenda area, encounter deck, reference card
Robert: The scenario stack and table geography
Robert teaches where everything lives. Agenda and act are the story engine, the encounter deck needs its own discard, the scenario reference stays visible, and setup text gets followed without reading ahead.
"Here is where I found the trouble: the table was not hard, it was undocumented. Put every pile where the story can see it."
- Separate player cards, encounter cards, scenario cards, and discards before the first mythos beat.
- Keep the current act and agenda readable from across the table.
- Read only what setup tells you to read. The hidden backs are not homework yet.
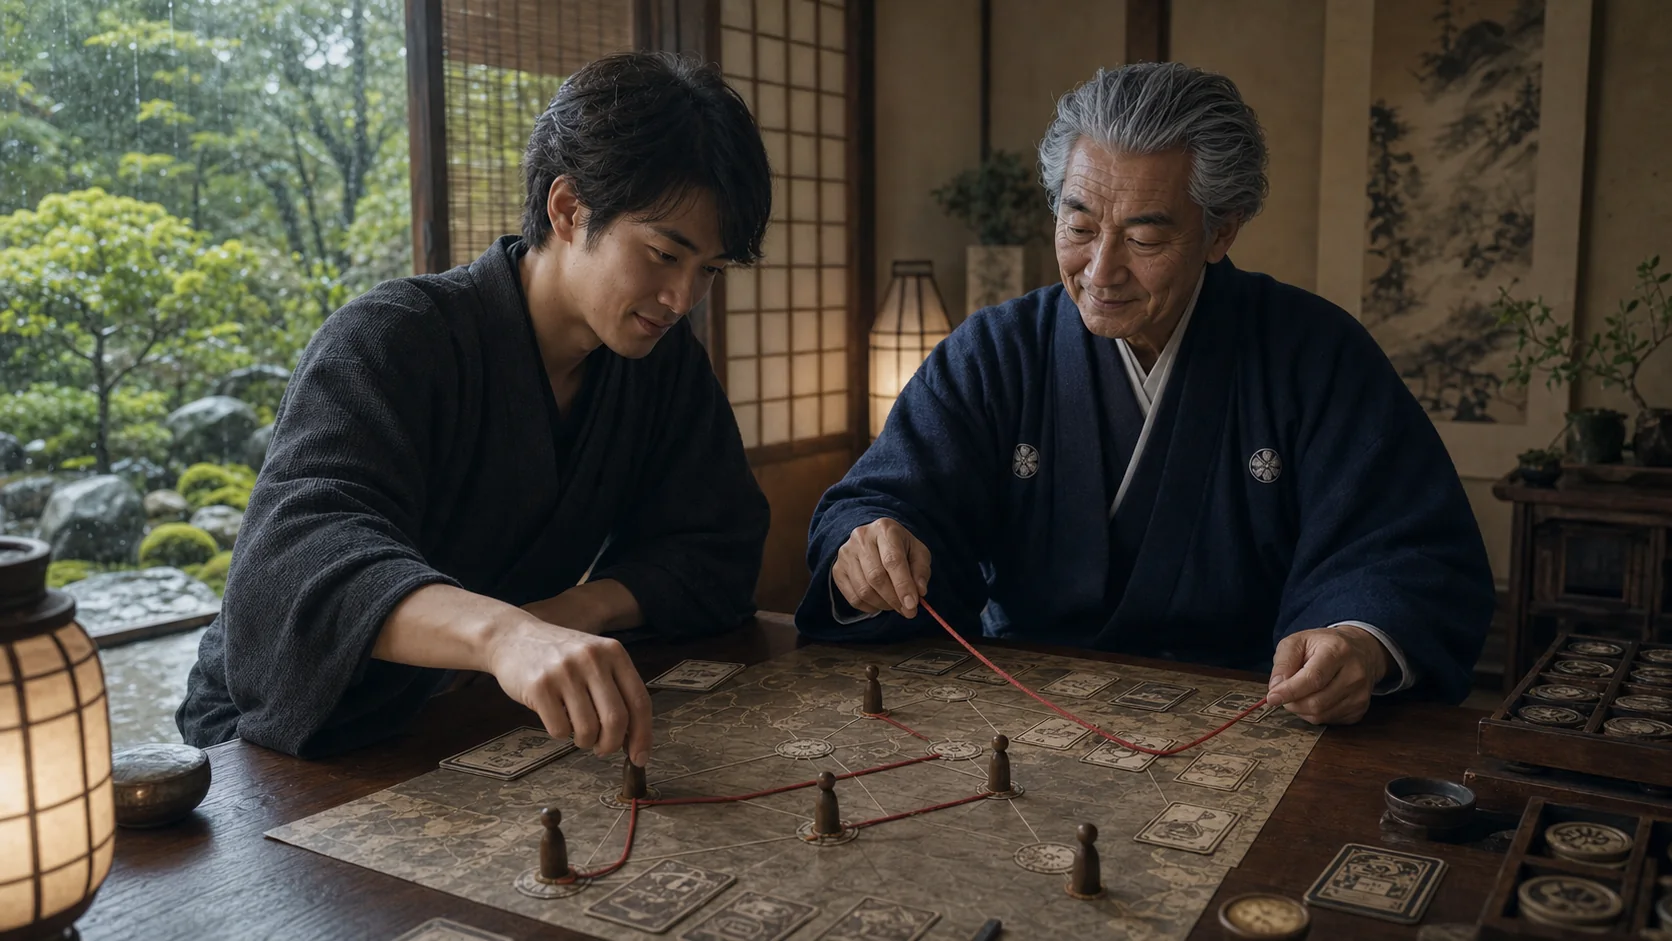
Rules Reference anchor: locations, investigators, movement, reveal rules, clues
Kenji: The location map and route discipline
Kenji turns Arkham into route logic. Locations connect in specific ways, movement costs real actions, locked paths need the right payment, and a beautiful board means nothing if the route is wasteful.
"The map does not resist you. It is waiting for you to stop wandering."
- Say which locations are connected before anyone moves.
- Move only when the next action has a job: clue, safety, objective, enemy answer.
- Spend clues when they open the story. A clue hoarded past its gate is just a souvenir.
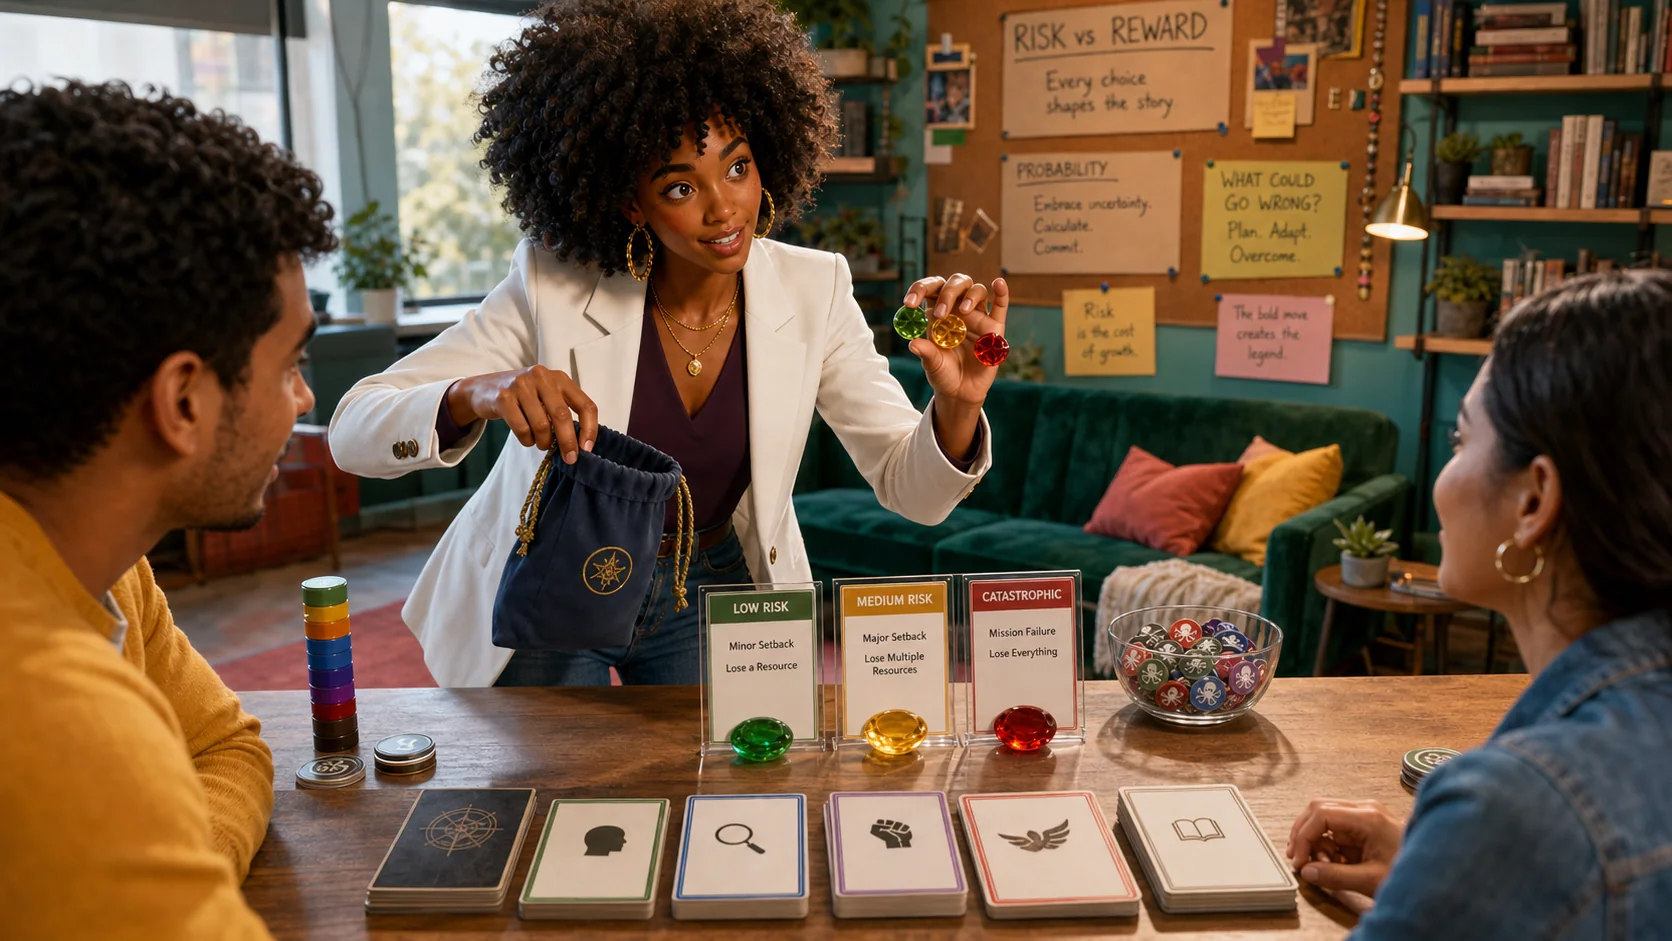
Rules Reference anchor: skill tests, commits, modifiers, success/failure
Imani: The table read and chaos-bag odds
Imani coaches the social decision before the token pull: name the stakes, commit when failure matters, and let the table understand that not every test deserves the same amount of cardboard.
"Someone will say “just pull.” Someone else knows this test is the whole night. Listen to the quiet one."
- Before committing, ask what failure costs: one action, one damage, one clue, or the scenario.
- Commit harder to tests that unlock the act or prevent defeat.
- Teach the bag as risk shape, not betrayal. The question is whether the risk was worth taking.
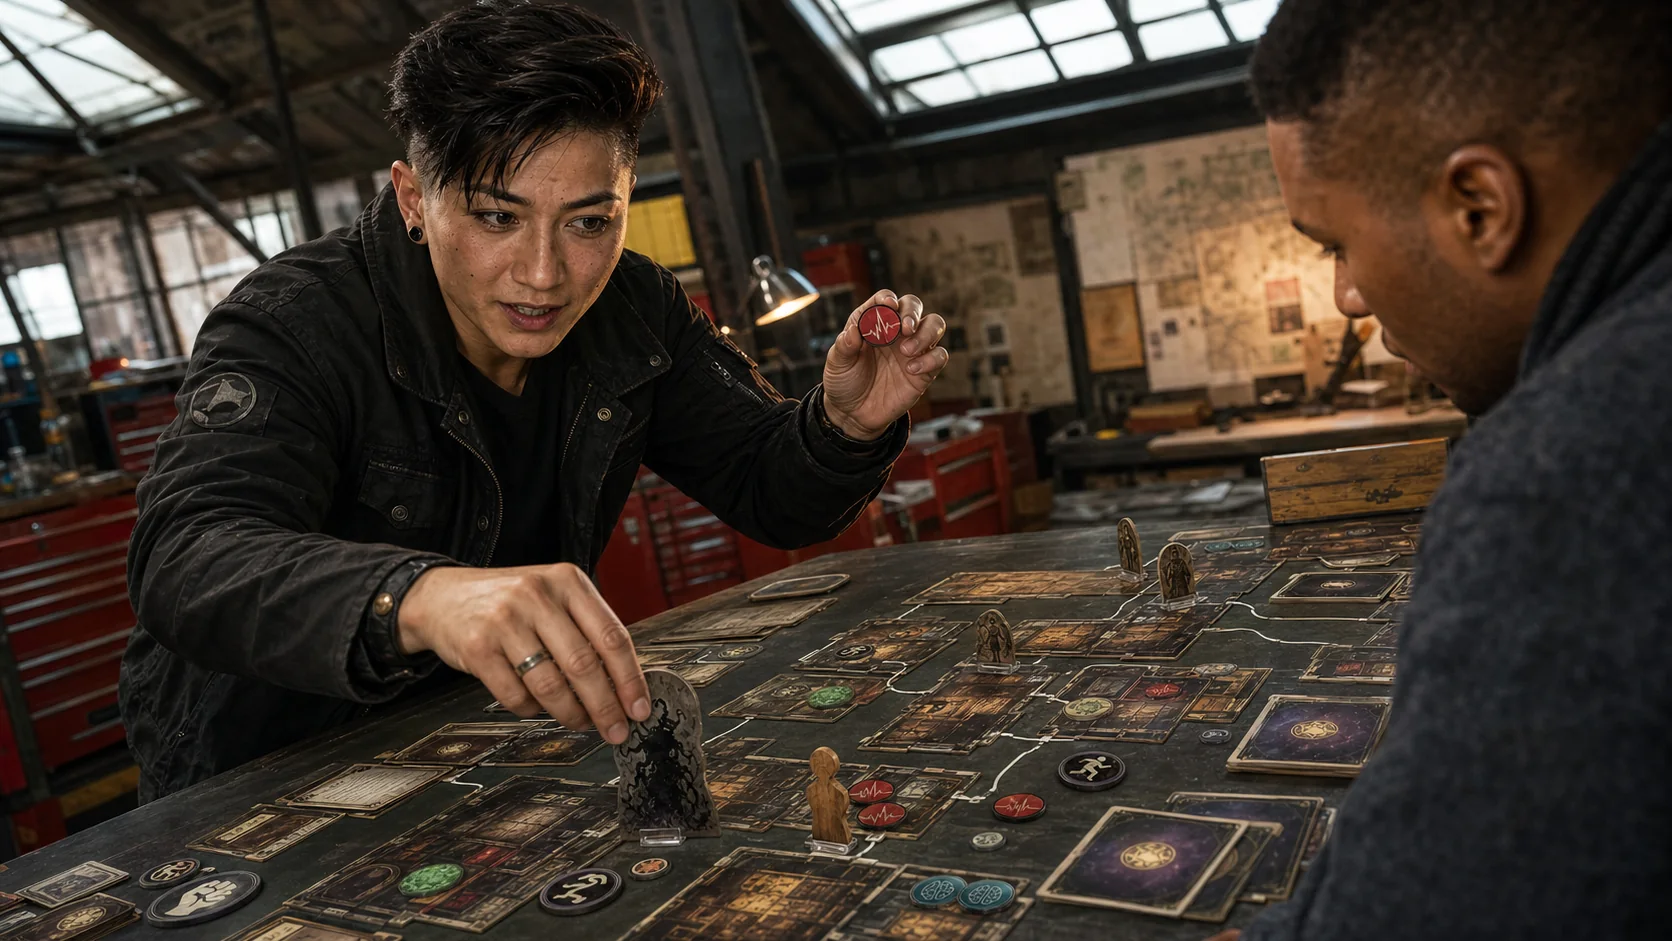
Rules Reference anchor: enemy engagement, fight, evade, enemy phase, ready/exhausted
Dax: The enemy-action tax
Dax names the ugly part first. Enemies do not merely hurt you; they steal future actions. Fight, evade, engage, or move with intent, but stop pretending an engaged enemy is background art.
"THE VERDICT: the monster is not the problem. The action tax is. THE FLAW: you noticed it one turn late."
- Handle enemies before they drain the next three turns.
- Evade is not shame. It is a tempo purchase when killing is too expensive.
- Physically place enemies where they are affecting the board so nobody forgets the threat area.

Learn to Play anchor: round sequence, mythos phase, enemy phase, upkeep phase
Margo: The mythos clock and receipts
Margo keeps the receipts: doom, agenda thresholds, mythos pressure, enemy movement, upkeep reset, hand size, and all the tiny end-of-round checks that prevent a campaign from becoming folklore.
"Crisp answer first: doom is the receipt. The table either audits it now or pays interest later."
- Audit doom before and after the mythos phase.
- Track ready/exhausted state, engagement, and threat areas before upkeep makes everything look tidy.
- If the table cannot explain what changed this round, pause and reconstruct the receipt.
Cast ten-minute teach
What Arkham is actually asking you to do.
This is the missing middle between opening the box and staring at a table full of beautiful problems. Read this once, then run the setup drill below with your physical cards.
Advance the story before the story eats you.
Your investigator is racing the scenario clock. You collect clues, open paths, survive enemies and treacheries, and push the act forward before doom advances the agenda.
"If a turn does not buy information, safety, tempo, or story progress, it had better be buying you a very good excuse."
Player side solves. Scenario side pushes back.
Keep investigator decks, hands, assets, resources, health, horror, and discards separate from the encounter deck, agenda/act area, locations, enemies, and scenario discards.
"Most first-night confusion is not strategy. It is geography."
Clues are your key. Doom is the fuse.
Clues usually unlock progress. Doom usually marks the scenario getting worse. New players should make both visible enough that nobody has to ask what matters right now.
"Put clues where the table can accuse you. Put doom where the table can threaten you."
Actions are the real currency.
Cards and resources matter, but the scarce thing is your three actions each round. A good turn turns actions into board progress; a bad turn turns actions into tidying.
"Arkham charges interest on dithering."
Do not ask “can I pass?” Ask “how badly do I need this?”
Start with skill value, add committed icons and bonuses, reveal a chaos token, compare to difficulty, then live with the result. Commit harder when failure costs the scenario.
"A 60% test for a bonus clue is romance. A 60% test to avoid defeat is paperwork for the coroner."
Learning the table beats learning every card.
You do not need to understand the full card pool to enjoy the first night. You need clean zones, a visible goal, a shared action plan, and one person willing to read timing carefully.
"The box is deep. The first table does not need to be."
Start-here simulator
Tell the cast what is on your table. They will turn it into a first-session plan.
This is the part the page was missing: a guided path from sealed-box confusion to “I know what to touch next.” Choose your table, check off setup, practice the mulligan, then let the first-round coach suggest a sane opening turn.
Your table
Cast plan
Build the table before you build the dream.Clue finder
Keep: Keep an investigate boost, clue tool, cheap asset, or economy card that helps you collect clues early.
Mulligan: Mulligan expensive weapons, late-game events, or cards that only help after the map is already under control.
First turn: Turn one usually means play one clue engine if affordable, move if needed, then investigate with help.
Enemy handler
Keep: Keep a weapon, combat boost, enemy-control trick, or economy card that lets you protect the clue finder quickly.
Mulligan: Mulligan hands that cannot answer the first enemy and do not help anyone else advance.
First turn: Turn one usually means install the enemy answer, position near the team, and leave one action for the map or a resource.
Flex survivor
Keep: Keep one cheap useful asset, one way to pass an important test, and one card that buys tempo or safety.
Mulligan: Mulligan hands full of expensive cards, narrow tricks, or skill icons that do not match the first scenario job.
First turn: Turn one usually means play one efficient card, then do whatever the board lacks: clue, enemy, movement, or economy.
Support / teacher
Keep: Keep cards that help others pass tests, keep the table alive, or make your own turn simple enough to explain.
Mulligan: Mulligan complicated combo hands when teaching. The first session needs clarity more than fireworks.
First turn: Turn one usually means help someone pass a key test, keep the phase order clean, and announce the shared objective.
Physical setup checklist
The real first-game sequence, translated into table language.
0 / 10 Start with investigators.
Interactive table drills
Practice the decisions that make the first night click.
Opening hand coach
Mulligan without panic.
Check what your opening five cards roughly contain. This does not read official card text; it teaches the shape of a keepable hand.
Choose what you see.
The coach will call keep, partial mulligan, or hard mulligan.
First-round action coach
Turn three actions into progress.
Pick your role and the table state. The coach suggests a broad first turn while leaving exact legality to your physical cards.
Suggested first turn
Component decoder
What every pile on the table is actually doing.
If a new player cannot explain a pile, they cannot make good decisions around it. These are the plain-English jobs.
Agenda
Doom usually advances this. Keep its threshold visible so the table knows how much time is left.
Act
Clues and scenario instructions usually advance this. Read the front goal aloud whenever the table stalls.
Scenario Reference
This tells you what special chaos symbols mean. It should never be under a snack bowl.
Encounter Deck
Mythos cards come from here. It gets a separate discard pile because mixing it with player cards is pain.
Locations
Investigators move through these. Put clues on the location, not beside it where they become folklore.
Threat Area
Enemies and treacheries affecting one investigator live here. If it is hurting you, keep it visibly near you.
Assets
Weapons, allies, spells, gear, and support cards live in your play area after you pay for them.
Hand
Cards in hand are potential. They are not helping until committed, played, or used at the right moment.
Chaos Bag
Pull tokens for tests. The goal is not certainty; it is knowing when the risk is worth paying for.
Basic actions
The menu a new investigator actually has.
Most first turns are some mix of install a useful card, move toward the scenario, investigate clues, and protect the team. The trick is knowing which action is buying progress and which is just nervous movement.
Take 1 card when you are out of useful options, digging for a specific tool, or recovering from a bad hand.
Gain 1 resource when you need to pay for a card soon. Good as glue, weak as a whole plan.
Pay for an asset or event. Great when the card changes several future actions; slow when it only looks impressive.
Use an action-triggered ability on a card or scenario element. Read the arrow cost before touching tokens.
Go to a connected location. Move toward clues, safety, or scenario goals; do not wander because the map looks moody.
Test to discover a clue at your location. This is often how the act moves forward.
Attack an enemy at your location. Missing can matter, especially if the enemy is engaged with someone else.
Test to exhaust and disengage an enemy. It buys time, stops attacks, and can be the smartest non-lethal answer.
Pull an enemy onto you from your location. Use it to protect another investigator or set up a safer fight/evade.
Setup drill
Build the table in the right order, then know what each zone is doing.
Agenda / Act
Encounter deck discard
Chaos bag
Starting locations
Investigator bay
First round audit
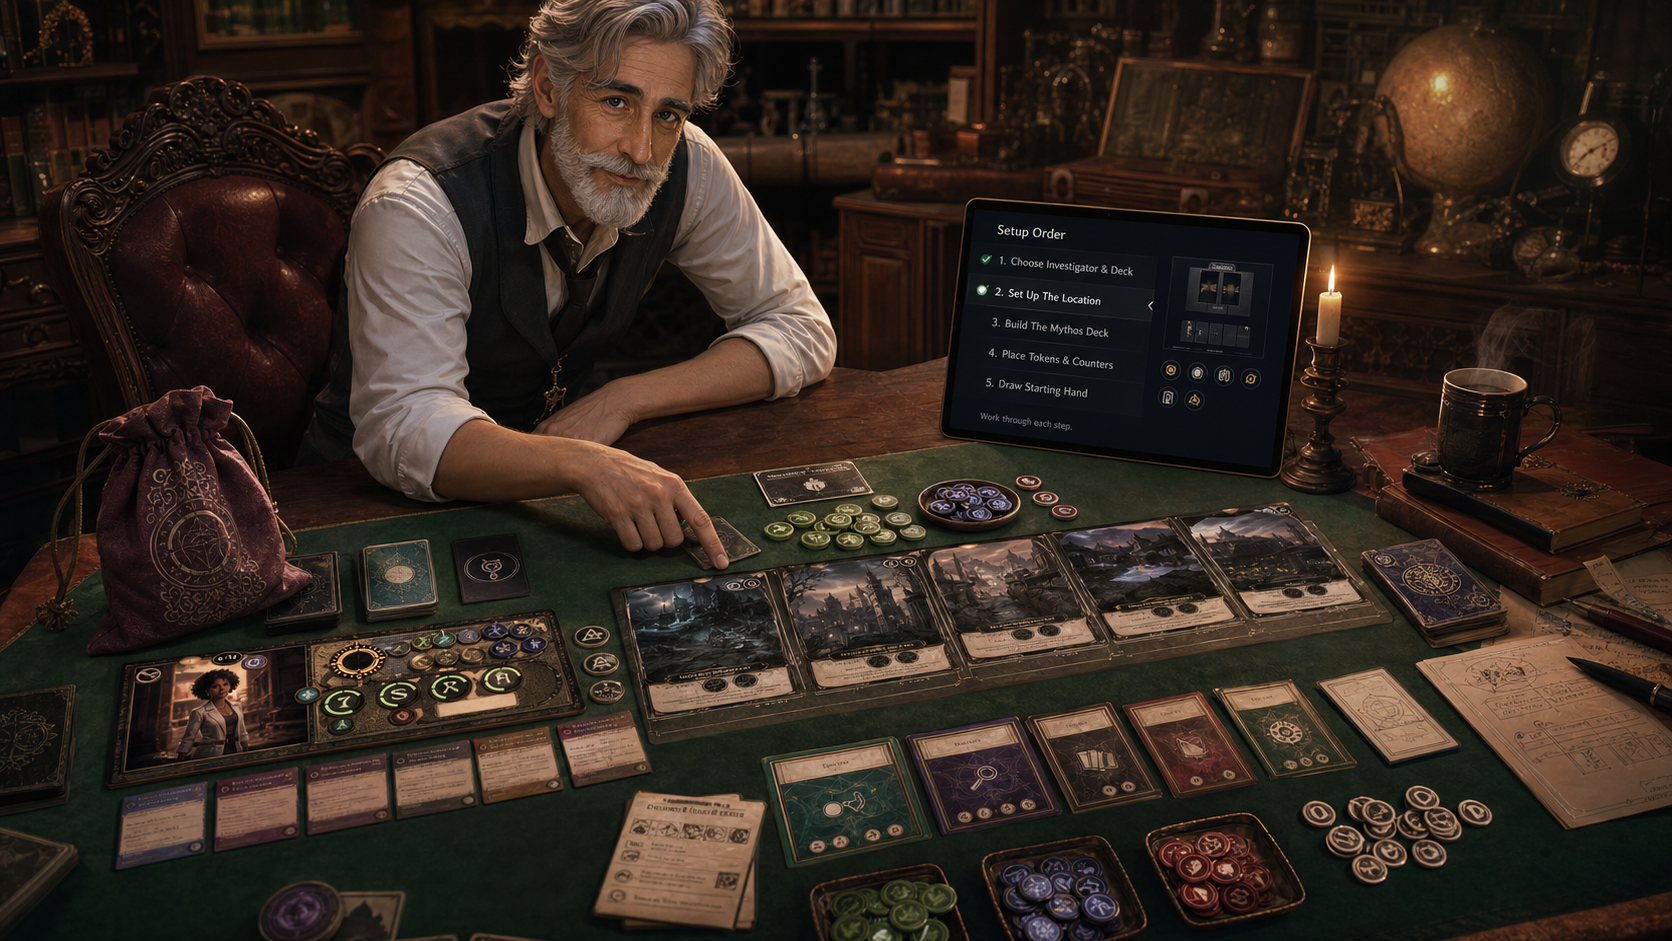
Generated illustration and original abstract trainer UI. No official card faces or copied scenario text are used.
The setup ladder the cast actually wants you to follow
Choose the scenario, separate the agenda and act cards, keep the scenario reference visible, and do not bury setup text under other decks.
Build the encounter deck from the sets named by your physical scenario, then leave a distinct discard space beside it.
Place starting locations, add clues as instructed, and make the initial connections legible before the first investigator acts.
Each player needs a deck, discard, hand zone, investigator card, resources, health/sanity trackers, and enough room for assets.
Load the chaos bag from the physical campaign instructions. This trainer uses a practice bag only for odds drills.
Before the first mythos beat, audit actions, clues, doom, ready/exhausted status, and which discard pile belongs to which deck.
Turn flow without the fog
A round is not just a checklist. It is pressure, response, cleanup, reset. Say those words out loud and new players suddenly stop treating Arkham like a normal card game.
The scenario pushes back: doom, encounter cards, threats, and timing reminders. Do this slowly until everyone sees what changed.
Each investigator gets three actions. Spend them on progress, survival, setup, or rescue. Try to end each turn with the board better than it was.
Enemies move, engage, and attack according to their state. Keep enemies physically near the investigator or location they are affecting.
Ready exhausted cards, draw, gain a resource, check hand size, and audit the table before the next pressure wave.
First-turn decision coach
Tick the table state you see. The active coach will tell a new player what kind of action deserves priority. This is intentionally broad: the physical scenario and cards still decide exact legality.
Coach priority call
Start with the goal. Read the current act aloud, identify what advances it, then choose actions that either collect clues, reach the right location, or stop immediate damage.Practice skill-test odds
This is a teaching bag, not an official scenario bag. Use it to learn why +1 feels nervous and +3 feels civil.
A card, location, enemy, or action asks for a skill against a difficulty. Name the stakes before anyone commits help.
Start with the investigator skill, then add committed icons, asset boosts, and other bonuses you are allowed to use.
Reveal a chaos token from the physical bag. This trainer uses practice bags only to teach risk shape.
If your modified skill meets or beats the difficulty, you pass. If not, resolve the failed consequence and keep the table moving.
0%
Set a test to see the coach's risk note.
Mistake hunt: click the haunted habits
First night walkthrough
From sealed-box energy to a table that actually teaches.
Use this as the host checklist. It is not a rules replacement; it is the order that keeps new investigators from drowning in components before the story has a chance to work.
Before anyone shuffles
- Pick the introductory scenario and prebuilt investigators from your physical box.
- Choose the listed difficulty and build the physical chaos bag exactly from the scenario instructions.
- Give each player one investigator bay: deck, hand, discard, resources, damage/horror space, and room for assets.
When the table is built
- Read the visible story setup aloud, then stop. Do not spoil hidden cards or later act/agenda text.
- Place starting locations and clues before the first investigator takes an action.
- Make a distinct encounter discard and player discard area. This one habit saves embarrassing archaeology later.
During the first round
- Identify the current act goal: clues, movement, enemy control, or survival.
- Spend early actions on assets only when they help this scenario soon, not because the card looks expensive and important.
- End the round by checking doom, clues, exhausted cards, enemy engagement, and each discard pile.
After the scenario
- Record only what the campaign log asks you to record.
- Upgrade with a job in mind: clue compression, enemy handling, economy, protection, or consistency.
- Before the next session, reset storage so the next setup takes ten minutes instead of becoming a hobby lawsuit.
Player count reality
Arkham changes shape with the number of investigators.
You feel every weakness. Choose an investigator/deck that can find clues and survive enemies, or play two-handed once you know the flow.
The cleanest teaching count. Split jobs loosely: one clue-leaning investigator, one enemy/survival-leaning investigator.
Great drama, but table space matters. Put the scenario row in the middle and give each player a bay that does not overlap.
More total actions, more chaos. Use a caller for phase order and ask each player to announce their plan before spending actions.
What to buy
The physical table kit this trainer points toward.
Affiliate-supported, never pay-to-rank. Exact Amazon product links where the listing is clear; broad accessory links only when the right product depends on size, sleeve count, or taste.
Physical game required
Arkham Horror: The Card Game Revised Core Set
The front door. This trainer teaches setup, but the real cards, rulebooks, tokens, and campaign text belong in the box.
Buy / check price on Amazon
Storage upgrade
Gamegenic Arkham Horror Game Night Chest
Best when the campaign becomes a weekly ritual. It keeps current decks, tokens, and scenario material ready.
Buy / check price on Amazon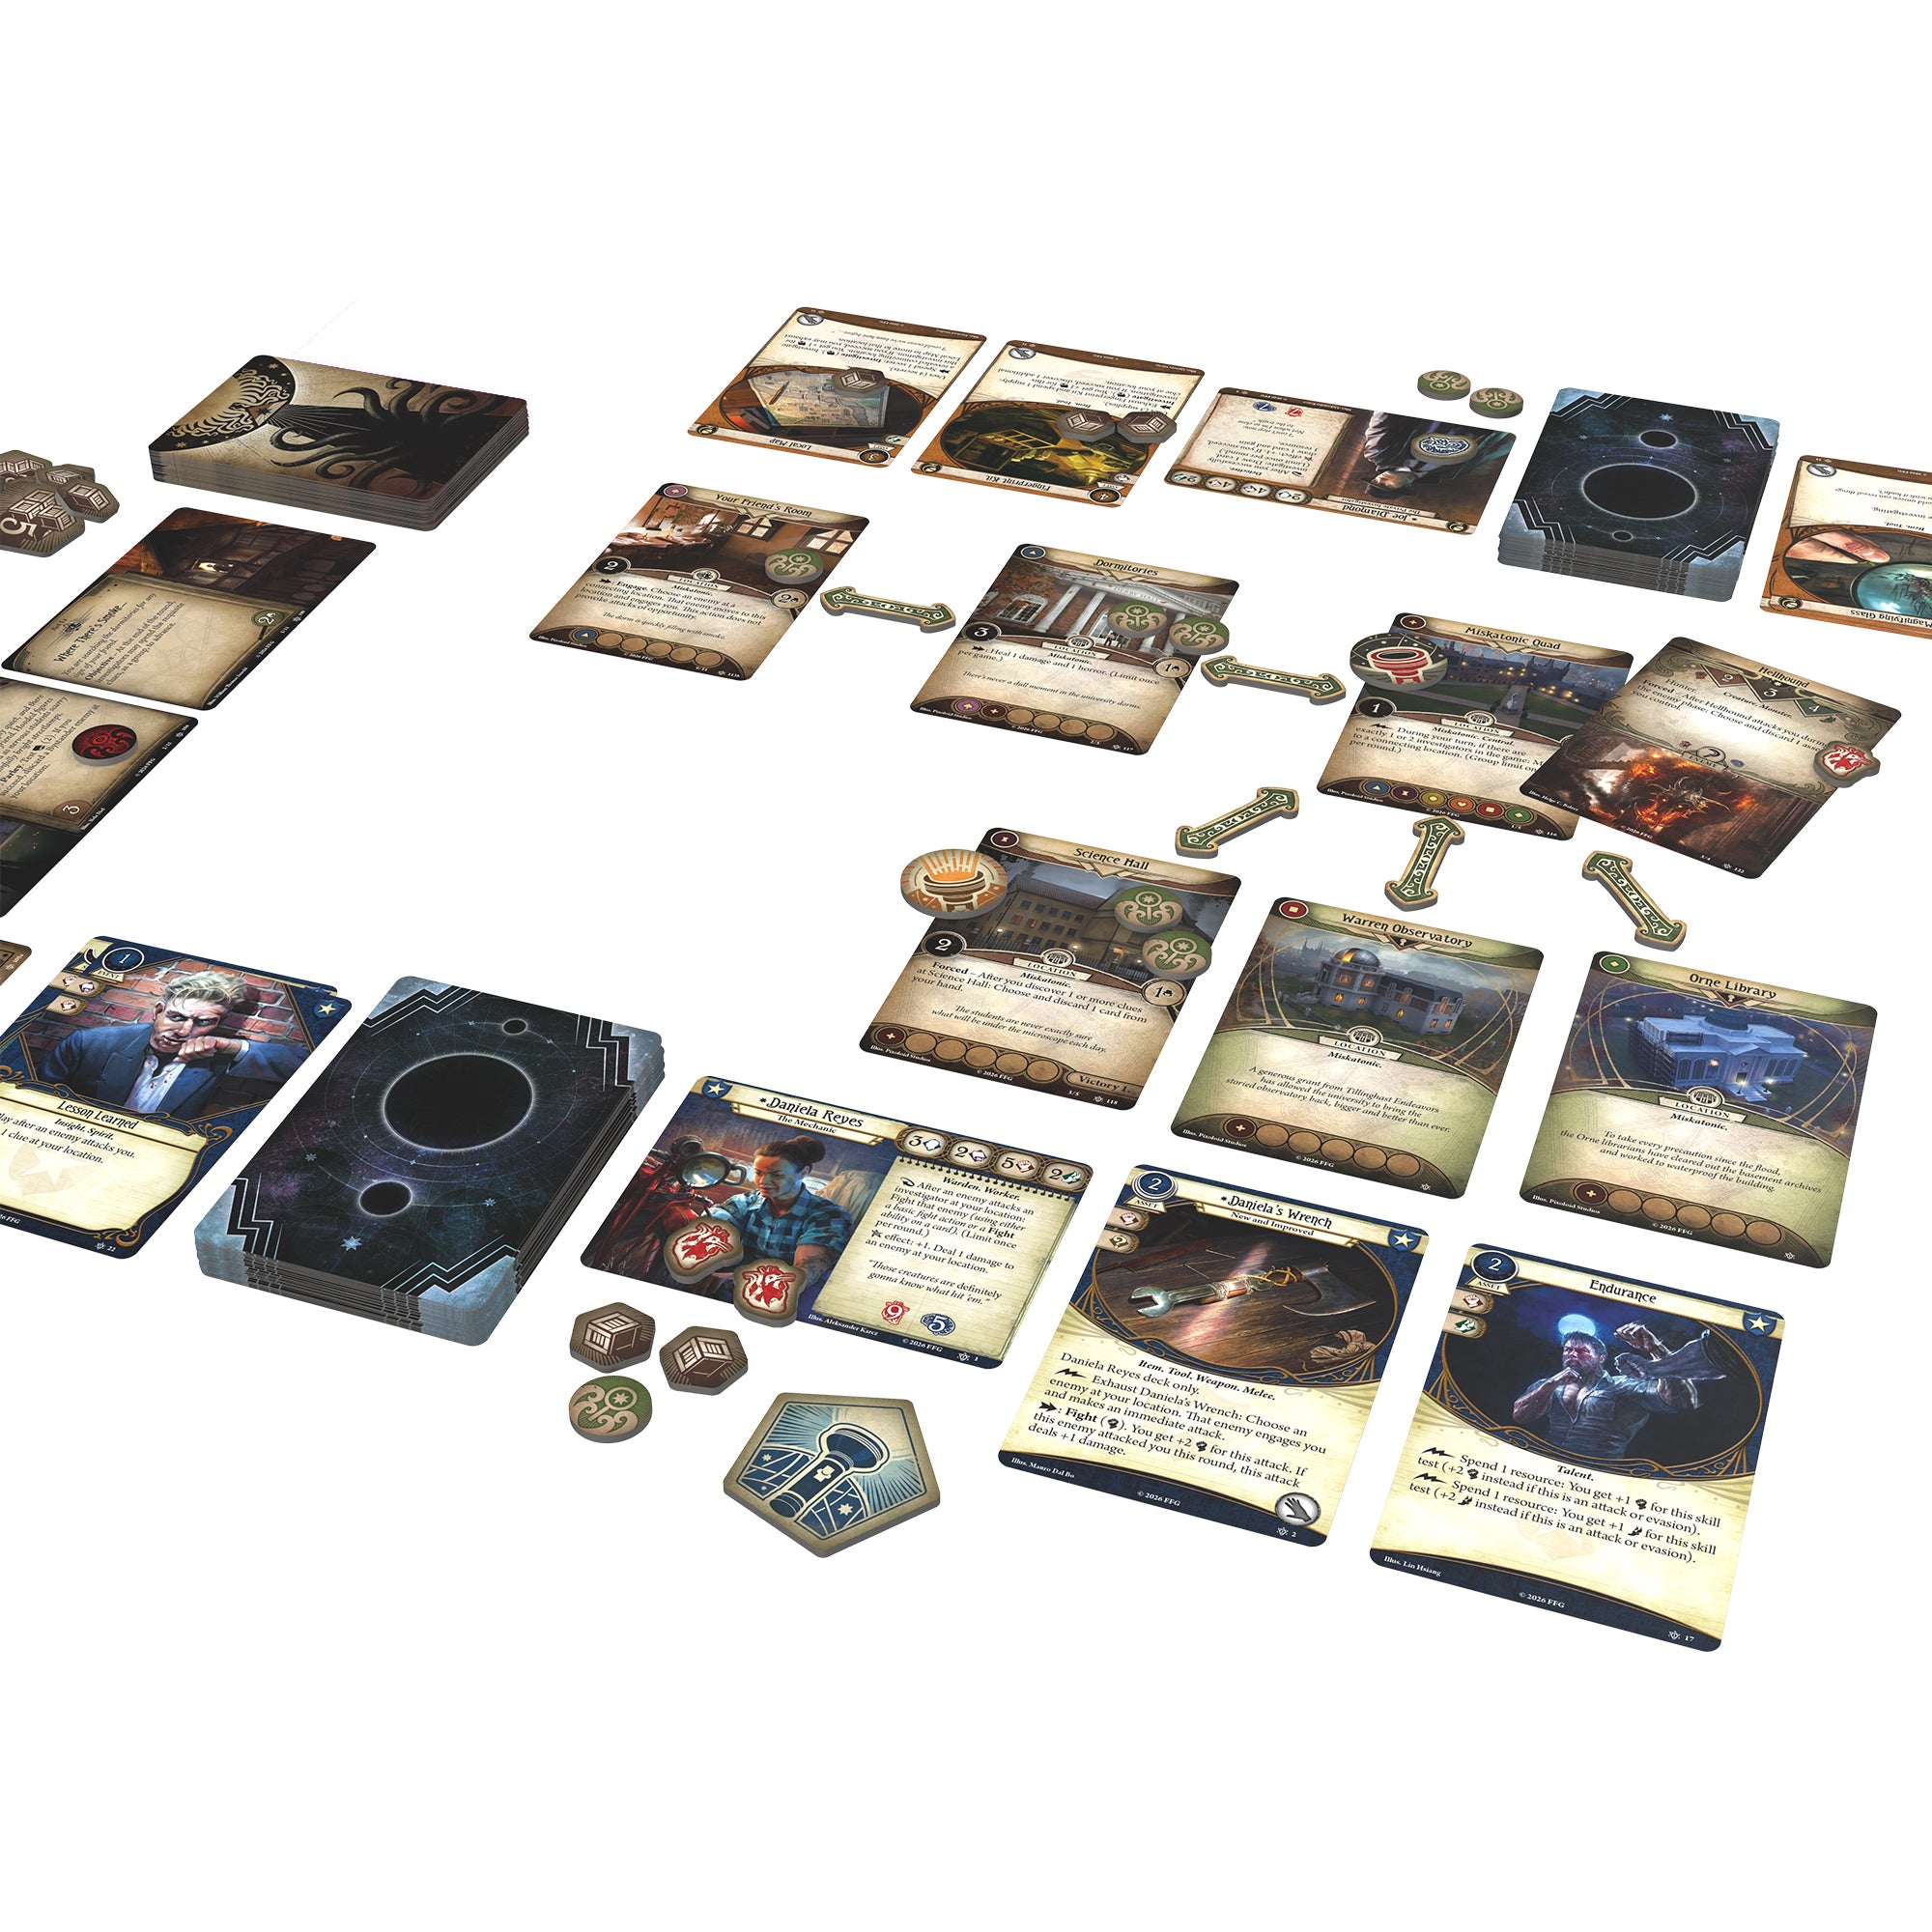
Table clarity
Gamegenic Arkham Horror Center Mat
A layout mat makes zones obvious, which is exactly what new investigators need most.
Buy / check price on Amazon
First big campaign
Path to Carcosa Campaign + Investigator bundle
Carcosa is still one of the cleanest early expansions once the core box is understood.
Buy / check price on Amazon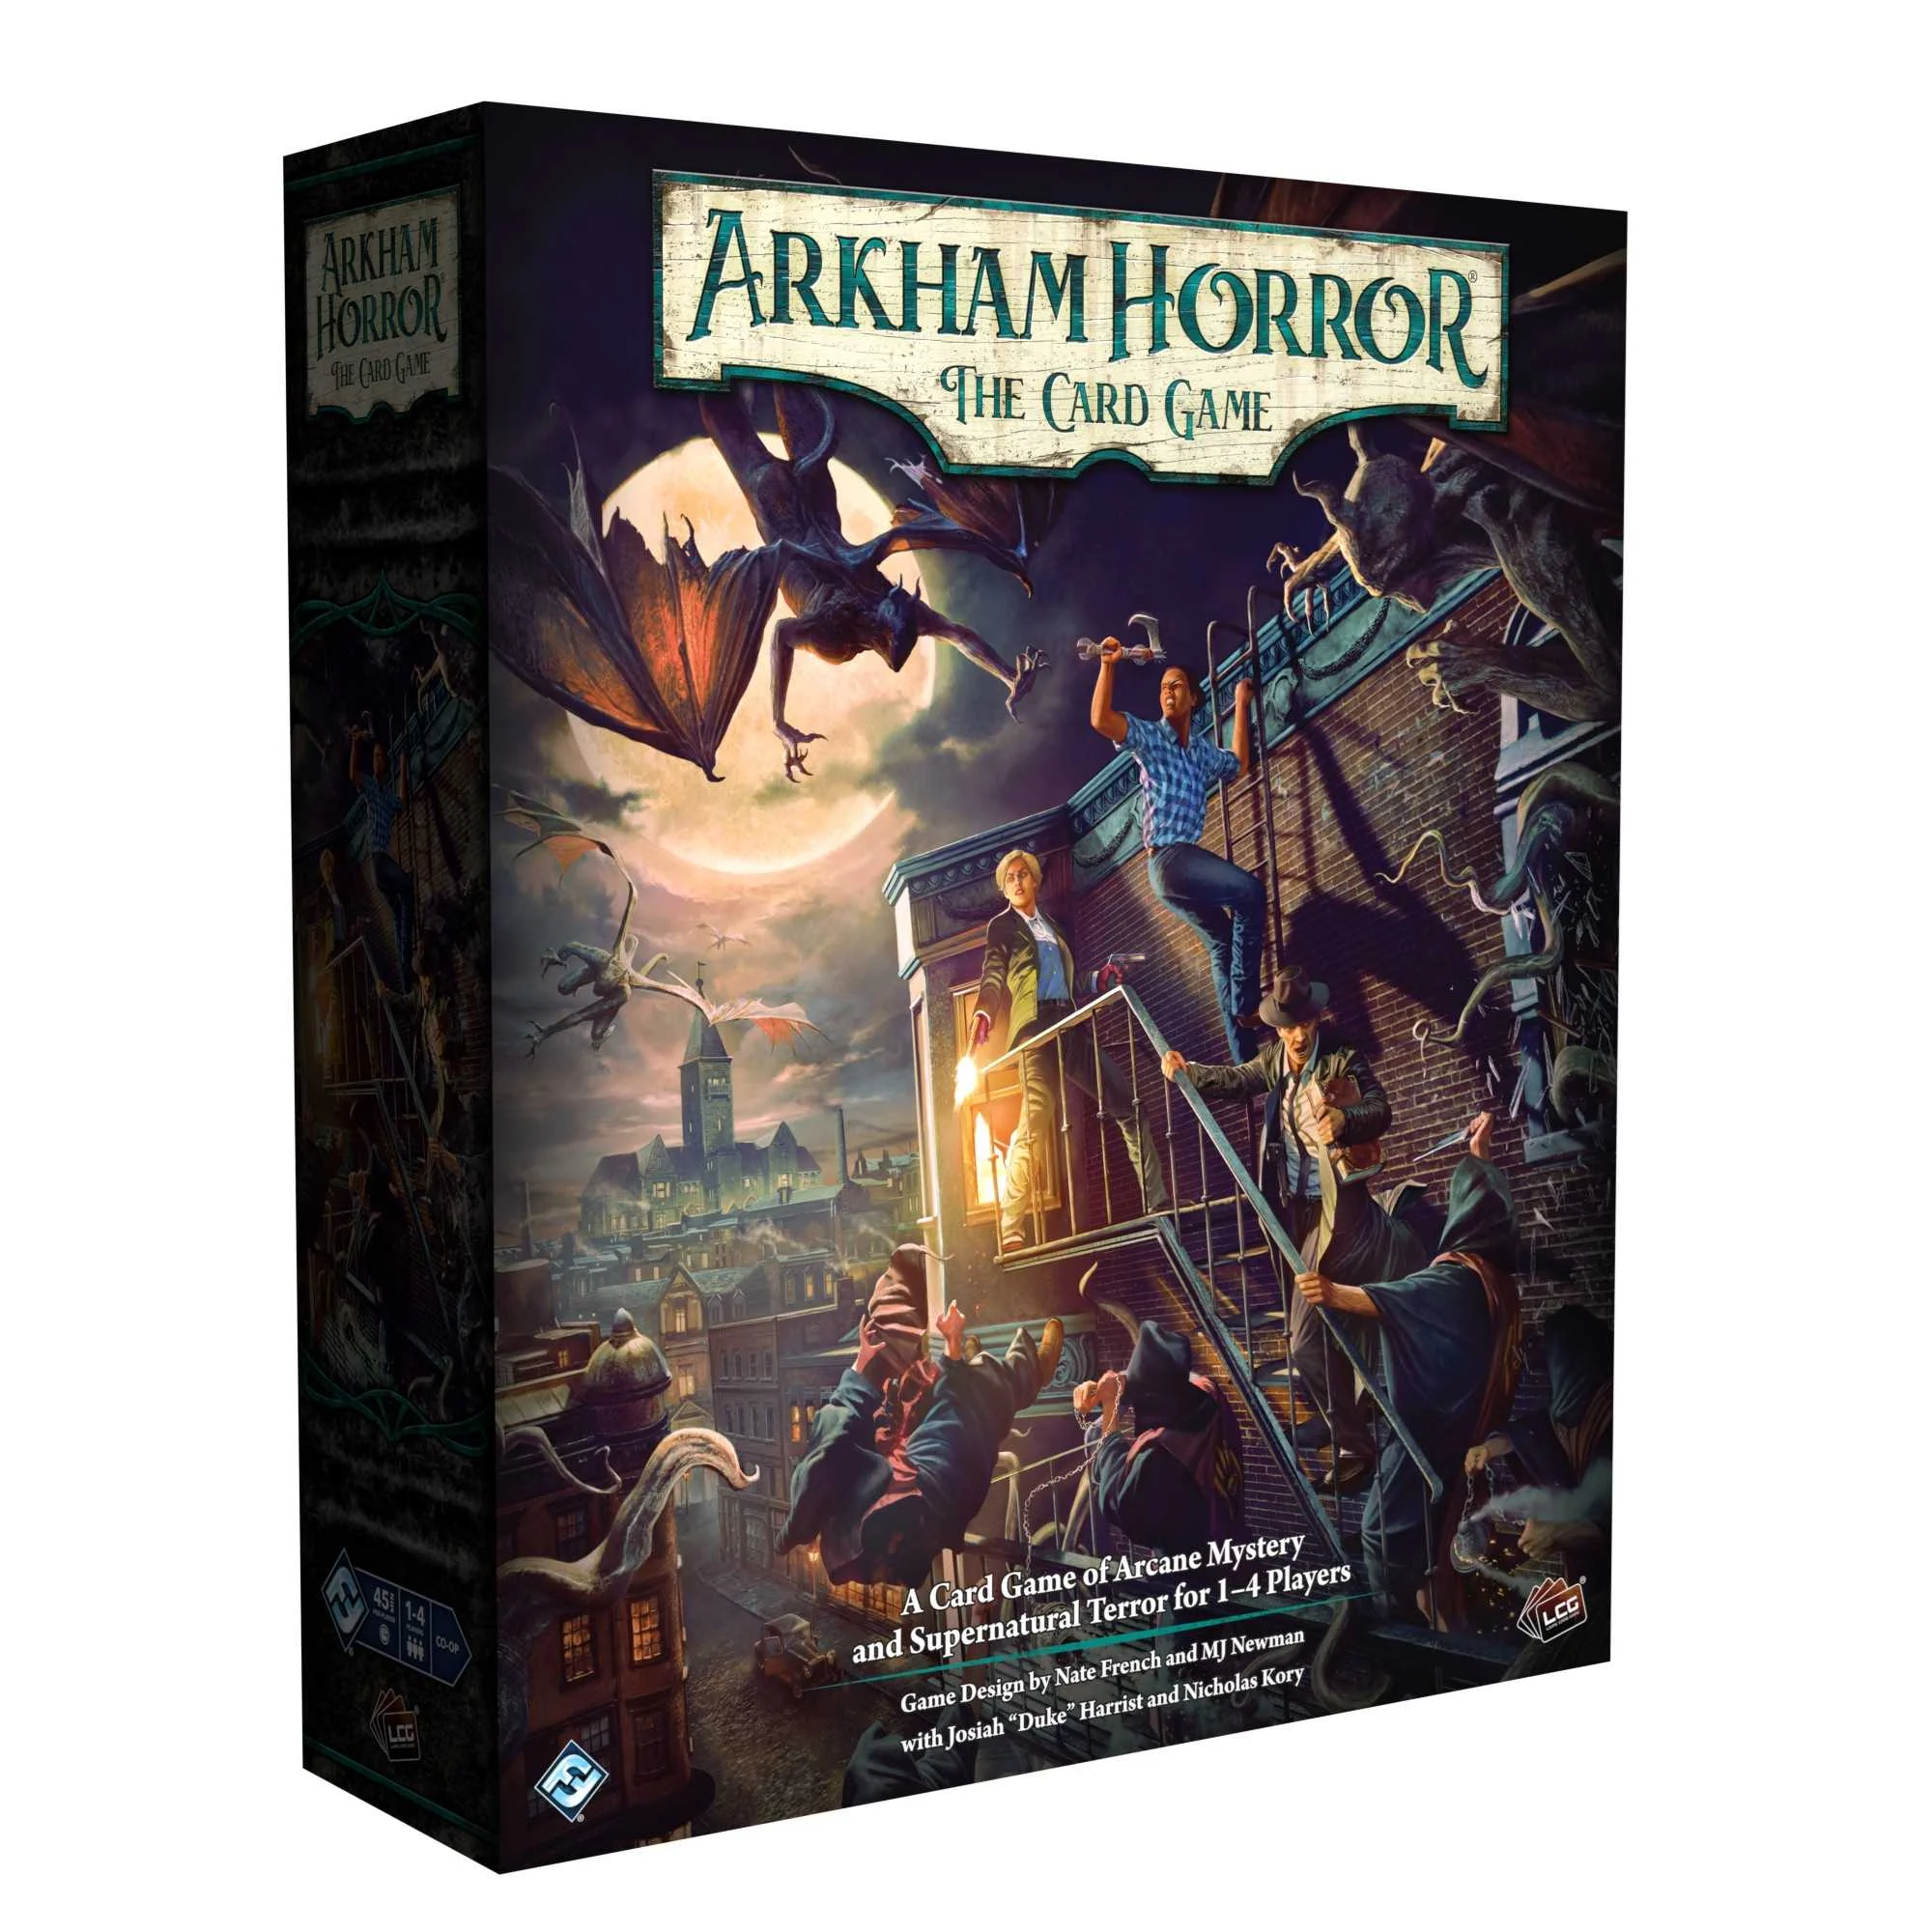
Newest starting box
Arkham Horror: The Card Game - Chapter Two Core Set
The new evergreen entry point: a fresh introductory campaign, five investigators, and full compatibility with the earlier card pool.
Buy / check price on Amazon
Bag feel
Chaos token capsules
Capsules make the bag easier to read by touch and protect the tokens from repeated play.
Buy / check price on AmazonWhy this is built this way
It teaches the ritual, not the copyrighted game.
Fantasy Flight's fan-content policy draws a hard line around online versions of games, digitized cards, copied rulebooks, and products that look official. This page stays on the educational side: original visuals, paraphrased coaching, physical-product links, and no official card database. The teaching structure is checked against the official Learn to Play and Rules Reference, but it deliberately leaves exact scenario text and card text inside the physical product.
FFG IP Policy · Official Learn to Play · Official Rules Reference · Arkham universe · Arkham Ultra Guide Strategy Bible
Setup Trainer FAQ
Is this an online version of Arkham Horror LCG?
No. It is an unofficial teaching companion for the physical game. It uses original teaching cards, paraphrased prompts, and practice drills, not official card scans, copied card text, or playable scenario content.
Can I learn setup before buying the game?
You can learn the table logic and common mistakes here, but you still need the physical core set to play. The real setup instructions, cards, tokens, and campaign text are in the official product.
Why does the trainer avoid card faces?
Because the goal is to teach the ritual without cloning the product. Abstract cards keep the page useful, safer, and focused on the physical table.
What is the first drill new players should run?
Run Scenario Stack, Encounter Deck, Location Row, Investigator Bays, Practice Chaos Bag, then First Round Audit. That sequence catches the mistakes that most often derail a first night.
What should a brand-new player focus on first?
Do not try to understand every keyword or deckbuilding option. Focus on the scenario goal, the location row, your three actions, and whether a skill test is important enough to commit cards.
What should I do on my first turn?
Look for clues, immediate enemies, and the current act goal. If nothing is urgent, play one useful setup card, then start moving or investigating. A full turn of shopping is often too slow.
Does the odds calculator use official scenario chaos bags?
No. It uses original practice profiles. Use it to learn how modifiers affect risk, then build the exact chaos bag from your physical campaign instructions.